A Beginner’s Guide to Sprouting Seeds Safely for Lovebirds
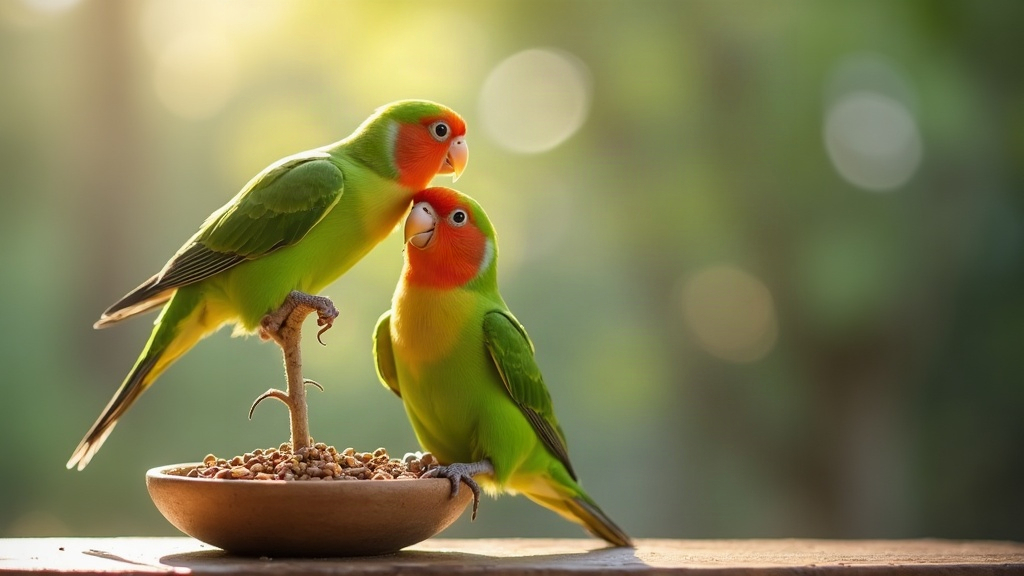
Sprouting seeds for lovebirds is one of the cheapest ways to boost a diet with something fresh and alive, but it only works if you treat cleanliness like a non-negotiable rule, not an afterthought. Done right, sprouts bring moisture, active enzymes, and vitamins that dry seed mix just can’t offer. Done wrong, that same warm, damp environment turns into a breeding ground for bacteria and mold. So the seeds matter, sure, but how you handle them matters just as much.
Why Offer Sprouted Seeds to Lovebirds?
The moment a seed soaks up water, it starts changing. Germination kicks off a process where certain nutrients become easier for the bird’s body to break down, and the seed itself begins turning into a tiny plant.
Think of sprouts as one piece of a bigger puzzle. They work best alongside quality pellets, leafy greens, other fresh produce, and the occasional treat, not as a stand-in for any of it.
Here’s what sprouts actually bring to the table:
- Softer texture, which many seed-loving birds find appealing
- More moisture than dry seed, which helps with hydration
- A change of pace that keeps mealtime from getting boring
- Nutritional shifts from germination, including a bump in vitamin activity
- An easy bridge for getting seed-obsessed birds to accept fresh food
One thing to keep in mind: sprouts aren’t a complete diet by themselves. They add to the formulated pellets and fresh foods your bird already eats, they don’t replace them.
Choose Seeds Intended for Sprouting
Start with seeds sold specifically for sprouting or human consumption, ones that are fresh and untreated. Skip anything from a garden seed packet unless it explicitly says “untreated” and “safe for consumption.” A lot of planting seed is coated in fungicide or other chemicals you don’t want anywhere near your bird.
Good options for lovebird sprouts include:
- Millet
- Mung beans
- Lentils
- Buckwheat
- Quinoa
- Wheat berries
- Adzuki beans
- Small seed blends made for parrots
Buy from a supplier you trust, and actually look at what you’re getting before you use it. Fresh seeds smell clean, look dry, and have zero dust, bugs, discoloration, or mold clinging to them.
Avoid Unsafe Ingredients
Some seeds and beans are dangerous raw, full stop. Large dried beans, kidney beans especially, contain natural toxins that only cooking can neutralize. Never offer these as raw sprouts, no exceptions.
And steer clear of any seed mix loaded with artificial dye, added sugar, preservatives, or ingredients you can’t identify at a glance.
Equipment You Need
You don’t need a fancy sprouting kit for this. A clean glass jar and something breathable to cover it will get you through a small household batch just fine.
Here’s your shopping list:
- A glass jar or a dedicated sprouting container
- Fresh sprouting seeds
- Cool, clean drinking water
- A fine mesh lid, cheesecloth, or clean screen
- A bowl or draining rack
- Clean hands and a clean surface to work on
Wash the jar, lid, and any tools with hot soapy water before every single batch, and rinse thoroughly. Leftover detergent residue is the last thing you want mixing in.
Step-by-Step: How to Sprout Seeds Safely
1. Measure a Small Batch
One or two tablespoons of dry seed is plenty to start. Sprouts multiply fast in volume, and a small batch means you’ll actually use it up before it goes bad.
Only make what your lovebird can finish in a day or two. That single habit prevents most of the food safety headaches people run into.
2. Rinse Thoroughly
Drop the seeds in the jar and rinse under cool running water. Give them a gentle swirl, then drain completely.
This first pass just clears out dust and loose debris.
3. Soak the Seeds
Cover the seeds with fresh water, several centimeters above the seed line. Most small seeds need roughly 6 to 12 hours. Larger legumes might need a bit more time, but don’t let anything sit soaking longer than necessary.
An overnight soak is usually all it takes for millet, mung beans, lentils, and small mixed seeds.
Keep the jar at room temperature, out of direct sun, away from heat vents, and somewhere the cat or dog can’t knock it over.
4. Drain and Rinse Again
Once soaking is done, pour off all the water. Rinse with cool water, then drain really well this time.
Prop the jar upside down at an angle over a bowl or rack so air can move through it. The goal is airflow without water pooling at the bottom. Standing water is basically an invitation for sour smells and mold.
5. Repeat Rinsing Every 8 to 12 Hours
Rinse and drain at least twice a day. If your kitchen runs warm, bump that up to three times daily just to be safe.
Most seeds show the first tiny white tails somewhere between 12 and 48 hours in. For lovebirds, short sprouts are the sweet spot. There’s no need to let them grow into long shoots.
How to Tell Whether Sprouts Are Safe
Good sprouts look firm and clean, and smell mild, earthy, maybe a touch sweet at most.
Toss the whole batch without hesitation if you spot:
- A sour, fermented, or just off smell
- Any sliminess
- Fuzzy growth or visible mold
- Dark spots or odd discoloration
- A jar that feels unusually warm
- Seeds still sitting in water
Don’t try to rinse mold off and salvage a questionable batch. It’s not worth the risk. When something seems off, throw it out, scrub the container properly, and start fresh.
Serving Sprouts to Your Lovebird
Give the sprouts one more rinse right before serving, drain well, and put a small portion in a clean dish, kept separate from dry seed or pellets.
For the first try, offer about a teaspoon to a single bird. Some lovebirds are cautious about new foods and need a few attempts before they’ll touch them. Mixing sprouts in with familiar vegetables, or just setting them next to the usual food dish, can help.
Pull out anything uneaten after about two hours, sooner if the room’s warm. Moist food spoils far quicker than dry seed and shouldn’t sit in the cage all day waiting to go bad.
Two to four times a week works well as a serving rhythm, folded into an otherwise varied diet. If your bird has weight issues, digestive trouble, or other health concerns, ask your avian vet for guidance tailored to that situation.
Storing Finished Sprouts
Once your sprouts hit the size you want, give them a final rinse, drain thoroughly, and store them in a clean container in the fridge.
Use them within two to three days. Rinse again before serving, and check each time for anything off. Slimy texture or a strange smell means it’s time to toss them, no second-guessing.
Conclusion
None of this is complicated once you get the rhythm down: fresh seeds, clean equipment, rinsing on schedule, and proper storage. Keep batches small, only serve what’s fresh, and never talk yourself into using a sprout that seems questionable. Stick to those habits and sprouts become a genuinely healthy addition to your lovebird’s rotation, not a risk you’re gambling with every time you feed them.